In today's dynamic business landscape, optimizing your Bexio import process is essential. This guide delves into the seamless integration of Excel XLSX files to simplify booking imports into Bexio. Discover how to elevate automation and efficiency in your booking procedures.
Need help with automation?
We can help you automate your accounting & business processes step by step, so you can focus on what matters most.
Prerequisites
Before diving into the steps, ensure you have:
-
Bexio Account: Confirm you have an active Bexio account, your preferred platform for accounting.
-
XLSX Excel File: Prepare your booking data in Excel (XLSX) format for a smooth import.
Why Opt for Excel XLSX in Bexio Import?
Utilizing Excel XLSX files for Bexio import offers various advantages:
-
Versatility: Excel XLSX formats provide a versatile structure for organizing booking data.
-
Efficiency: Streamline your booking import process with the familiar and user-friendly interface of Excel.
-
Automation: Enhance automation capabilities by seamlessly integrating Excel XLSX files with Bexio.
Step-by-Step Guide
Step 1: Prepare Your Excel XLSX File
Format Your Data: Organize your booking data in Excel XLSX format, ensuring alignment with Accrio's minimal requirements:
- Column
date - Column
amount - Column
description
Additional columns are recommended but not necessary for many cases. See Journal Booking Templates and Credit Card Import Templates for examples.
Step 2: Log in to Accrio and Set Up a New Import Channel
-
Log in to Accrio: Activate the CSV Importer module (Free plan available).
-
Create a New Import Channel: Follow the quick start guide to set up a new import channel. Select the appropriate template for your ERP data.
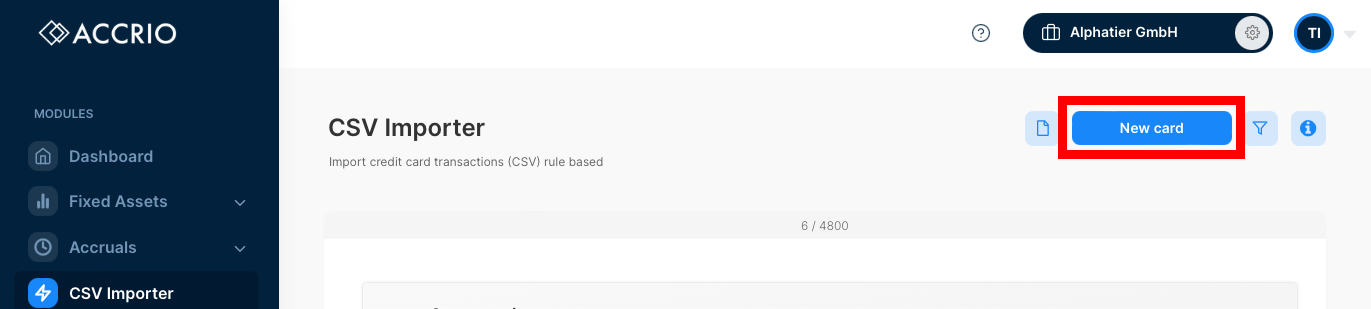
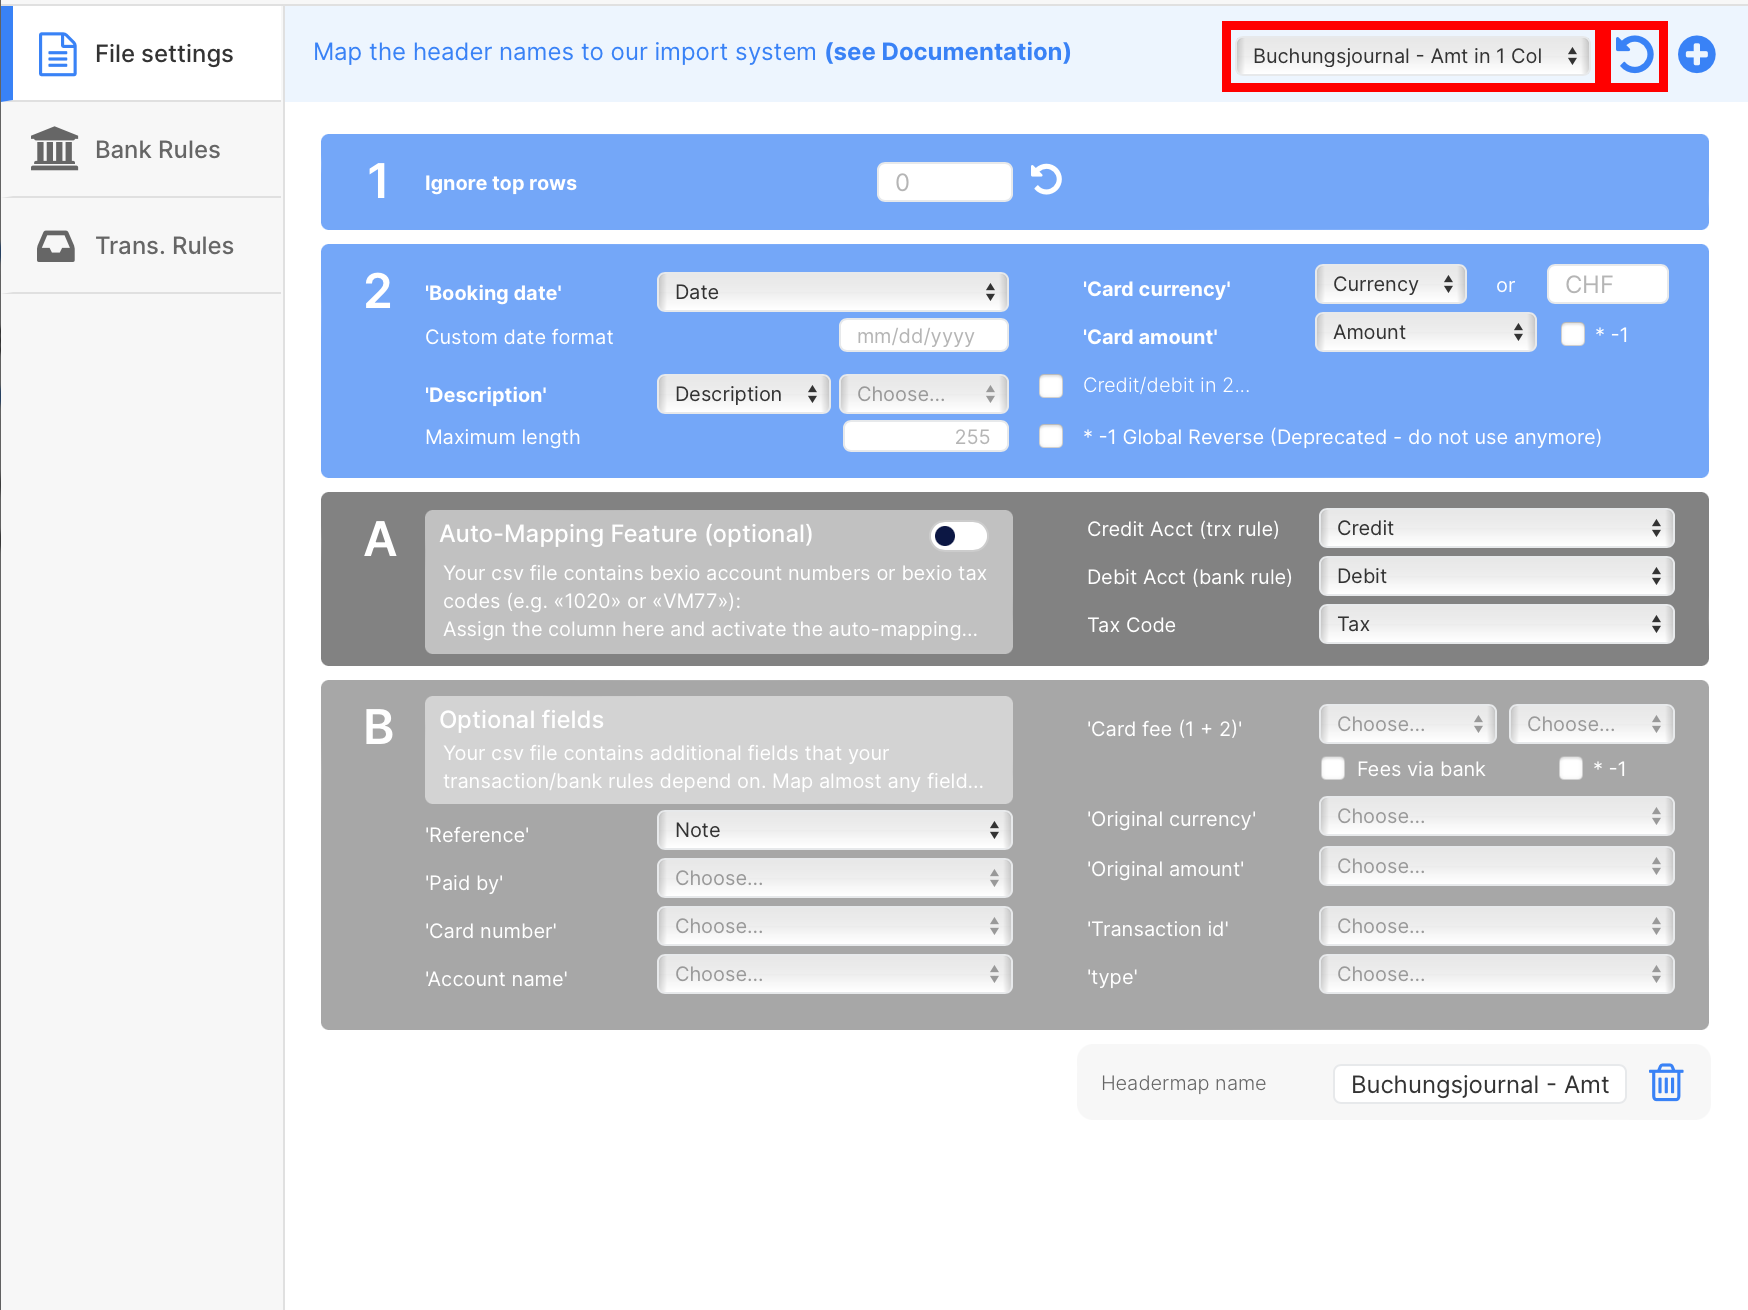
Step 3: Configure Import Settings
During setup, configure various settings:
-
Header Template: Choose the template matching your ERP data structure. Explore examples for predefined templates.
-
Customization: Customize import settings if needed. Custom Header Template
Step 4: Process Your First File
-
Upload Your File: Select and upload your ERP data file to Accrio.
-
Review and Confirm: Accrio will display a preview of the data. Review it to ensure accuracy and completeness.
-
Walk through the file as described here.
-
Send the Transactions: Once satisfied, confirm the imported transactions either per transaction, per rule, or for all rules at once. Accrio will then automatically send the data to your Bexio account.
See our How to Use - Tutorial for more details.
Benefits of Using Excel XLSX for Bexio Import
-
User-Friendly: Leverage the user-friendly interface of Excel for a seamless import experience.
-
Error Prevention: Reduce the risk of errors with the familiar structure and validation options of Excel.
-
Efficient Mapping: Easily map data fields between Excel XLSX files and Bexio for efficient imports.
Conclusion
Streamlining Bexio import with Excel XLSX files enhances your booking procedures, making them more efficient and error-free. Embrace the power of automation and streamline your accounting workflow with this user-friendly approach.
Need Further Assistance?
-
Take advantage of our complimentary setup service.
-
Explore tailored solutions for your business with our expertise in custom accounting automation. We've successfully optimized and automated accounting processes for numerous clients, enhancing their efficiency. Feel free to reach out to us for personalized guidance.
Did this blog post help you?
Support us by:
- Creating a Revolut Business Account using our affiliate link.
- Using our platform, Accrio, to automate your accounting.
- Buying us coffee ☕️.
- Sharing us with your network.